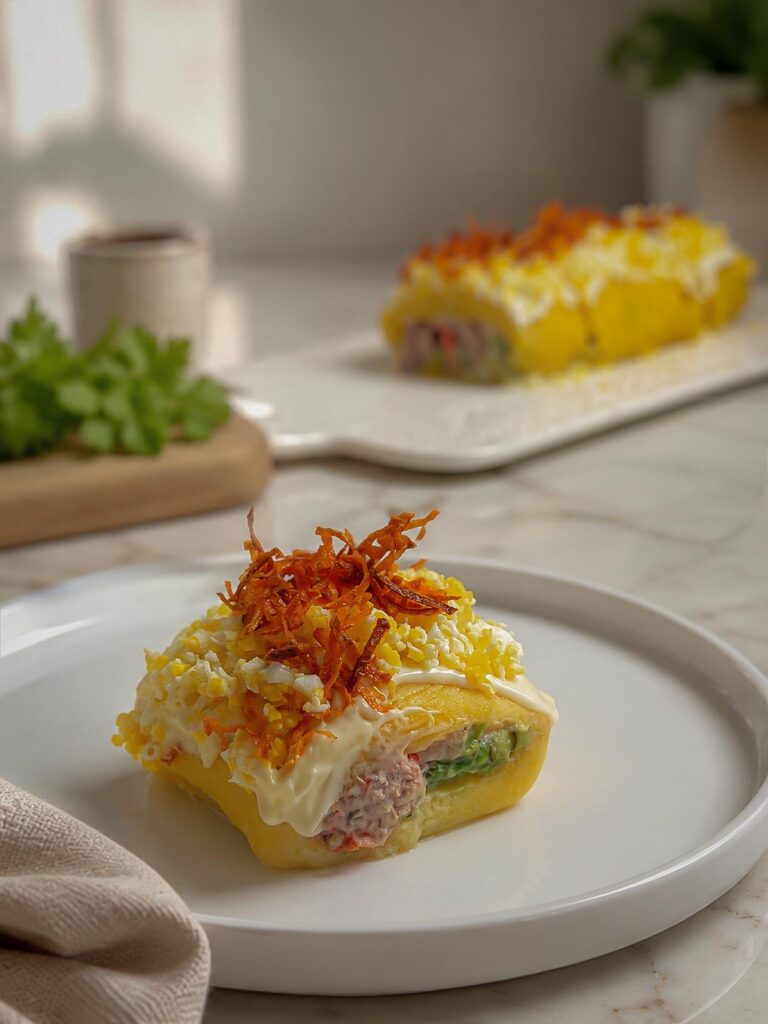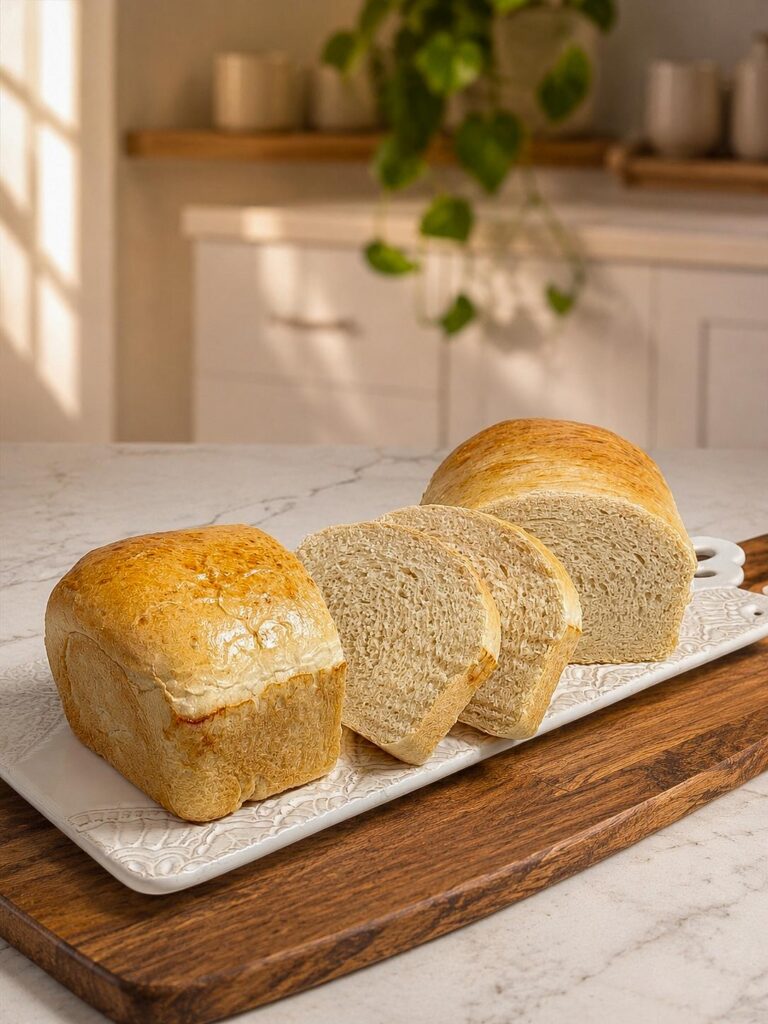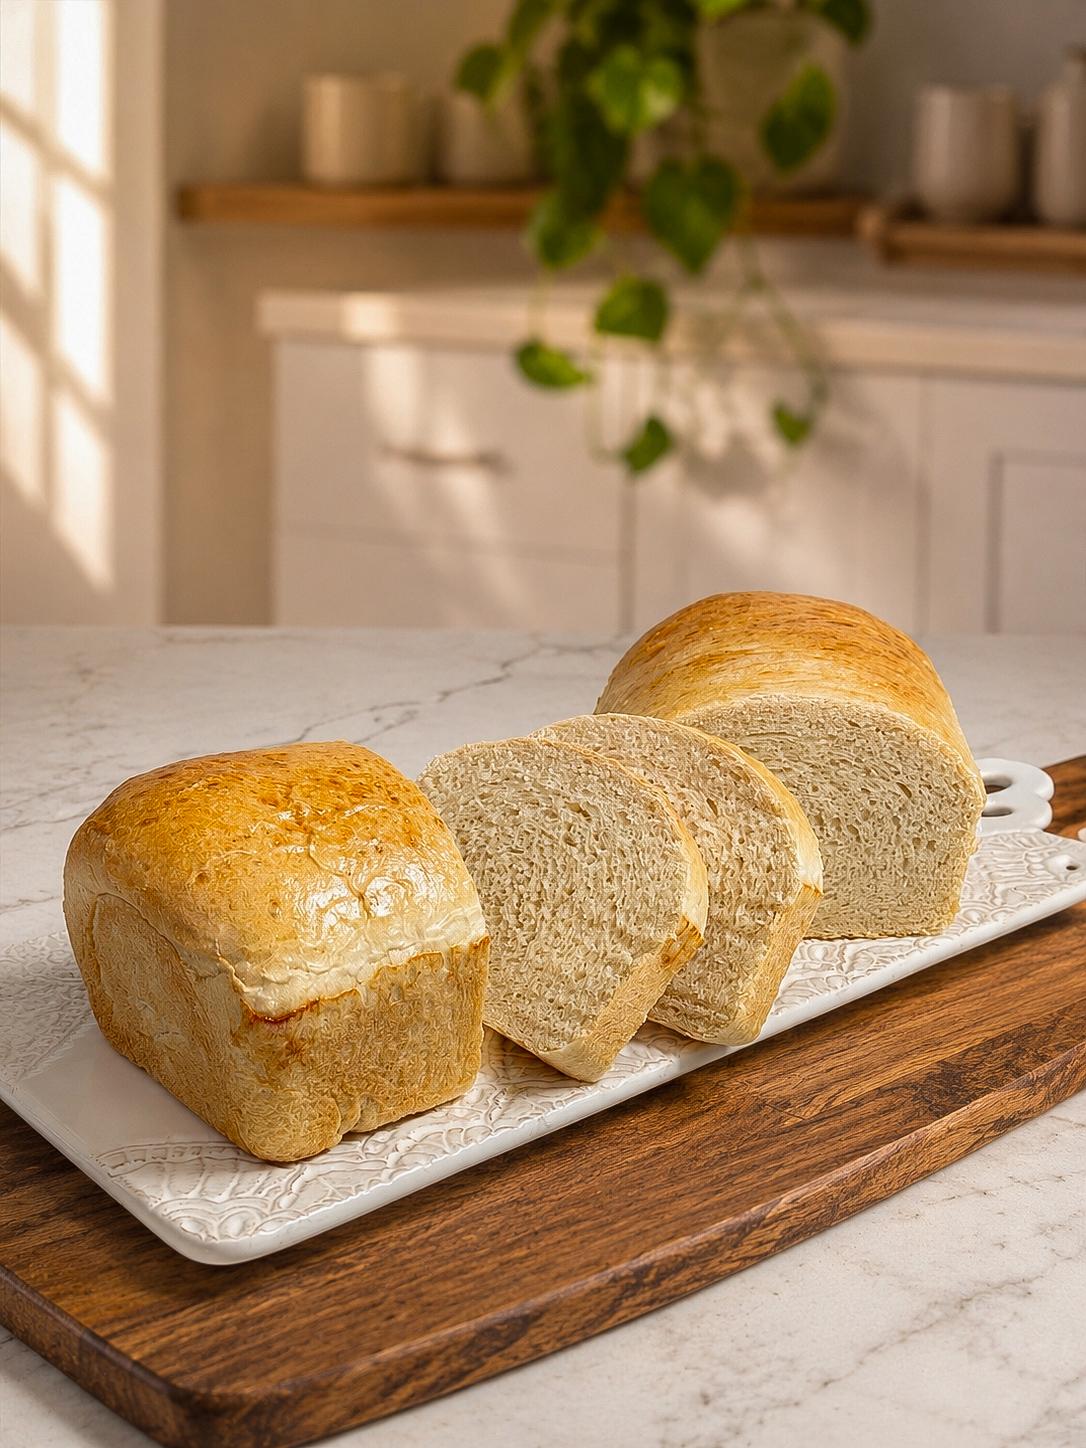
There’s something incredibly satisfying about baking your own sandwich bread, and this Peruvian pan de molde is one of my absolute favorites: soft, fluffy, buttery, and perfect for everything from breakfast toast to sandwiches… and of course, the classic Triple Peruano! Thanks to bread flour and proper kneading, the loaf stays soft while being sturdy enough to hold your favorite fillings. Don’t rush the process—great bread takes a little patience, but the results are absolutely worth it.
Ingredients
- 550 g Pillsbury Bread Flour
- 210 g whole milk
- 110 g water
- 50 g unsalted butter, softened
- 30 g light brown sugar
- 10 g salt
- 6.5 g Active Dry Yeast (Fleischmann’s)
Instructions
- Activate the yeast
Warm together 210 g whole milk and 110 g water.
The mixture should reach 100–110°F (38–43°C). It should feel warm to the touch, never hot.
Stir in the brown sugar until dissolved.
Sprinkle the yeast evenly over the liquid and let it rest for 5–10 minutes, or until it becomes foamy and creamy. This tells you the yeast is active and ready to use. - Mix & knead the dough
Add the bread flour, salt, and yeast mixture to the bowl of your stand mixer.
Mix on low speed until a rough dough begins to form.
Add the softened butter and continue kneading using the dough hook on Speed 2 for approximately 12–15 minutes.
The dough should become smooth, soft, elastic, and slightly tacky.
To check if it’s fully kneaded, perform the windowpane test by gently stretching a small piece of dough. If you can stretch it thin enough to see light through it without tearing, it’s ready.
Resist the temptation to add extra flour. Bread flour absorbs moisture gradually during kneading, and adding too much flour can make your bread dry and dense. - First rise
Shape the dough into a smooth ball.
Transfer it to a lightly greased bowl, cover, and let it rise in a warm place until it has doubled in size.
Depending on the temperature of your kitchen, this usually takes 1–1½ hours. - Shape the loaf
Transfer the dough to a clean work surface.
Gently press it into a rectangle, removing any large air pockets.
Fold both sides toward the center.
Starting from the short side, roll the dough tightly into a log, gently pressing with each roll to create tension.
Pinch the seam closed and place the dough seam-side down into a greased 9×5-inch loaf pan. - Second rise
Cover the loaf loosely and let it proof until the highest point of the dough rises about 1 inch (2–3 cm) above the rim of the loaf pan.
This final rise is very important because it determines the loaf’s final volume and softness.
Try not to overproof the dough, as it may lose strength during baking. - Egg wash
Whisk together 1 egg and 1 tablespoon milk.
Brush a thin, even layer over the surface of the loaf for a beautiful golden finish. - Bake
Bake in a preheated oven at 350°F (175°C) for 30–35 minutes.
If the top begins to brown too quickly, loosely cover it with aluminum foil during the last 10 minutes of baking.
The bread is ready when the crust is deeply golden and the loaf sounds hollow when tapped. - Cool
Allow the bread to cool inside the pan for 5–8 minutes.
Carefully remove it from the pan and transfer it to a wire rack.
Let the loaf cool completely before slicing. Although it’s tempting to cut into it while warm, waiting allows the crumb to finish setting and gives you much cleaner slices.
Ale’s tips & techniques
- Use bread flour instead of all-purpose flour. The higher protein content develops stronger gluten, giving the bread its signature soft yet sturdy texture.
- Check your yeast first. If it doesn’t become foamy after 10 minutes, it’s no longer active and should be replaced.
- Avoid adding extra flour too quickly. The dough may seem sticky at first, but it will become smoother as the gluten develops.
- Don’t skip the windowpane test. Proper gluten development is one of the biggest secrets to achieving a soft, fluffy loaf.
- Shape the dough tightly. Rolling the dough firmly creates better oven spring and a more uniform crumb.
- Watch the second proof carefully. Underproofed bread will be dense, while overproofed dough can collapse or bake with a flatter top.
- Allow the bread to cool completely before slicing. Cutting it while hot compresses the crumb and can make the interior gummy.
- Store the bread in an airtight bag or container once completely cooled. It stays soft for about 3–4 days at room temperature, or you can freeze individual slices for up to 2 months.